
How to Use the Planner in MyGeorgeFox
1. Log into MyGeorgeFox (my.georgefox.edu) using your GFU username and password.
2. Click Manage Classes.
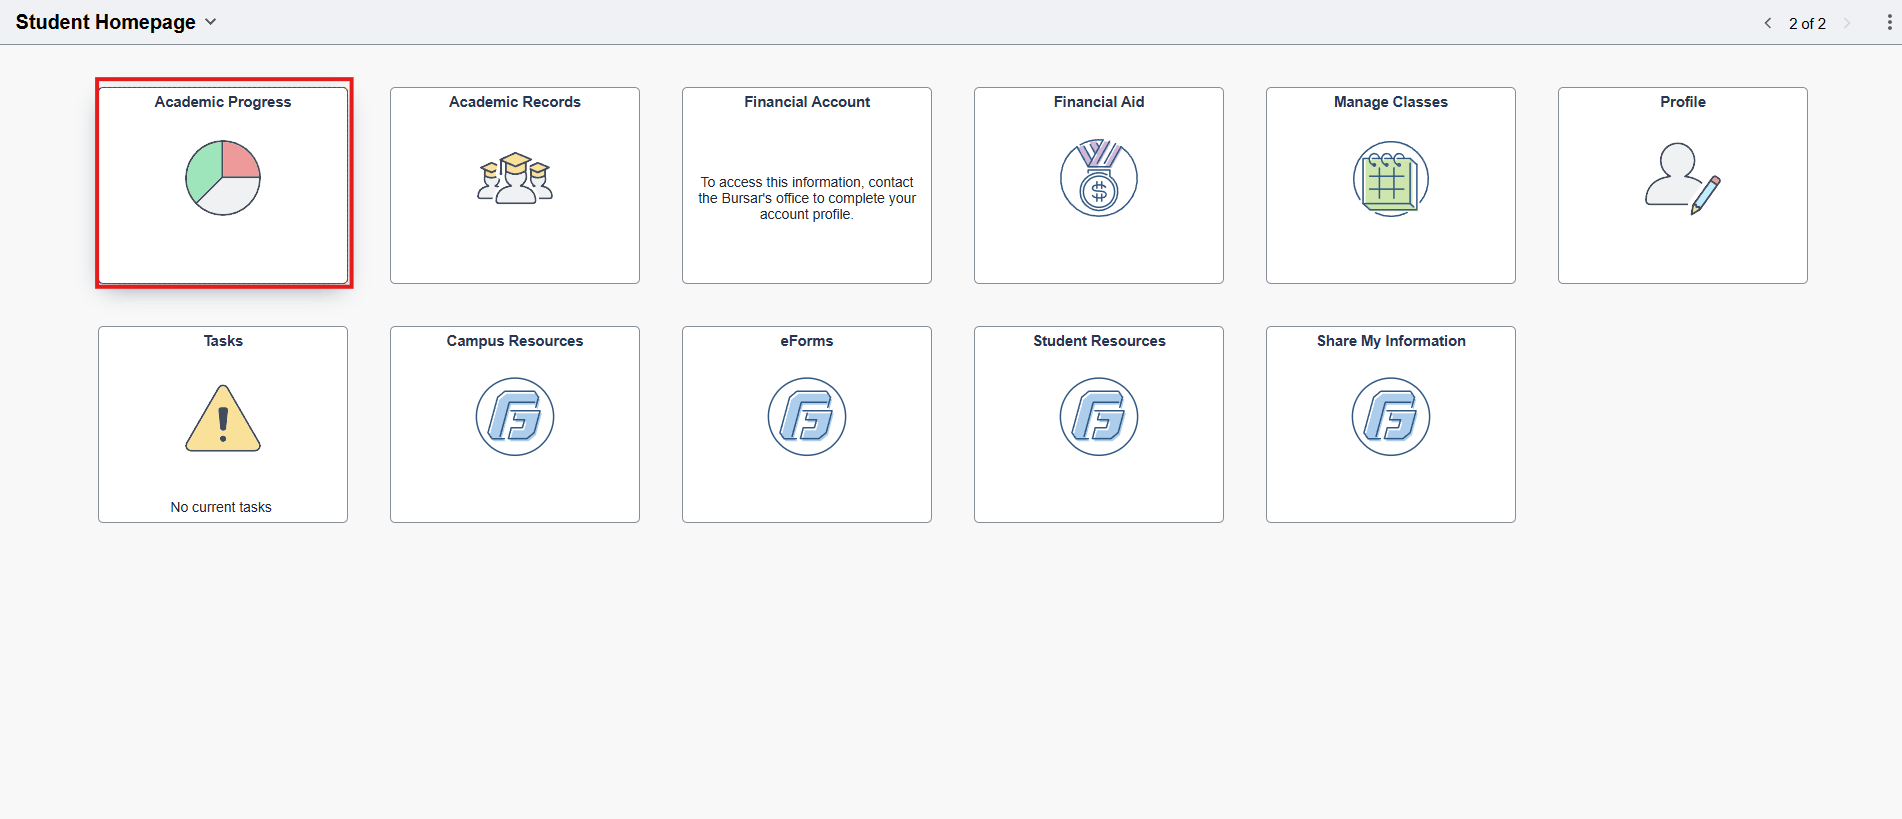
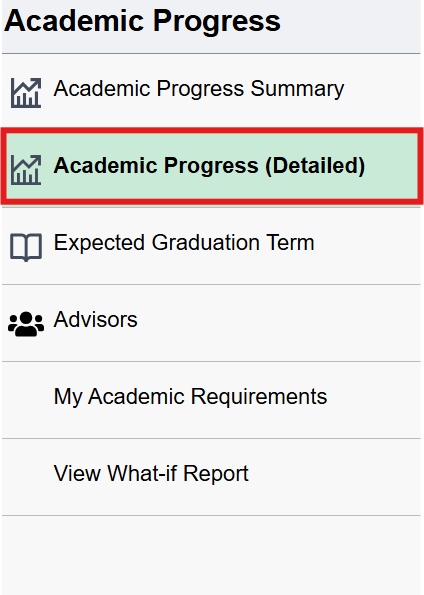
3. Click Academic Progress (Detailed). Wait a few seconds for your Academic Progress report to load.
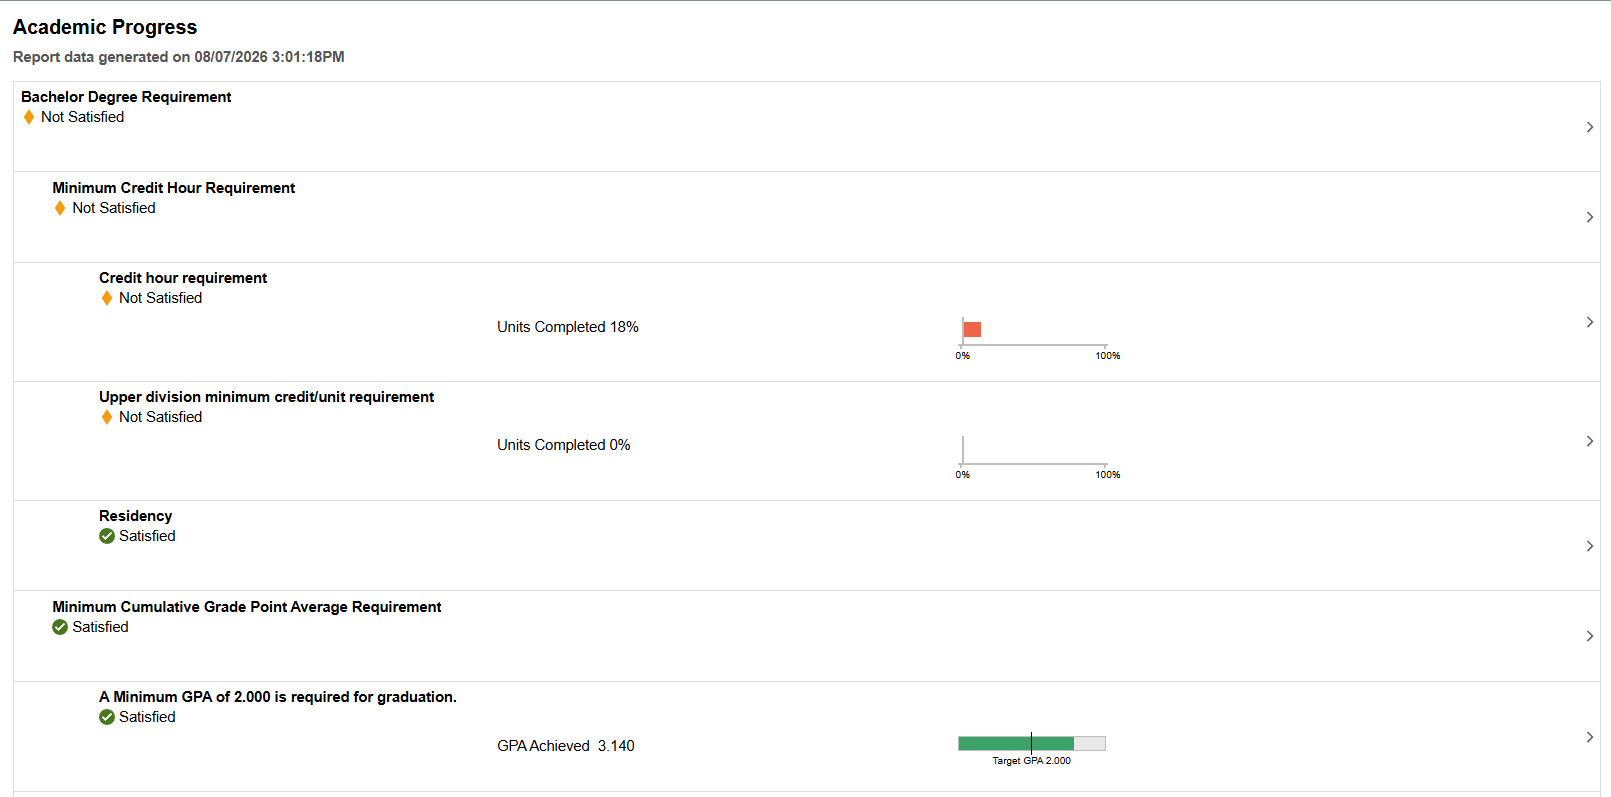
4.Scroll to the requirements you wish to add to your planner. Click on a requirement.
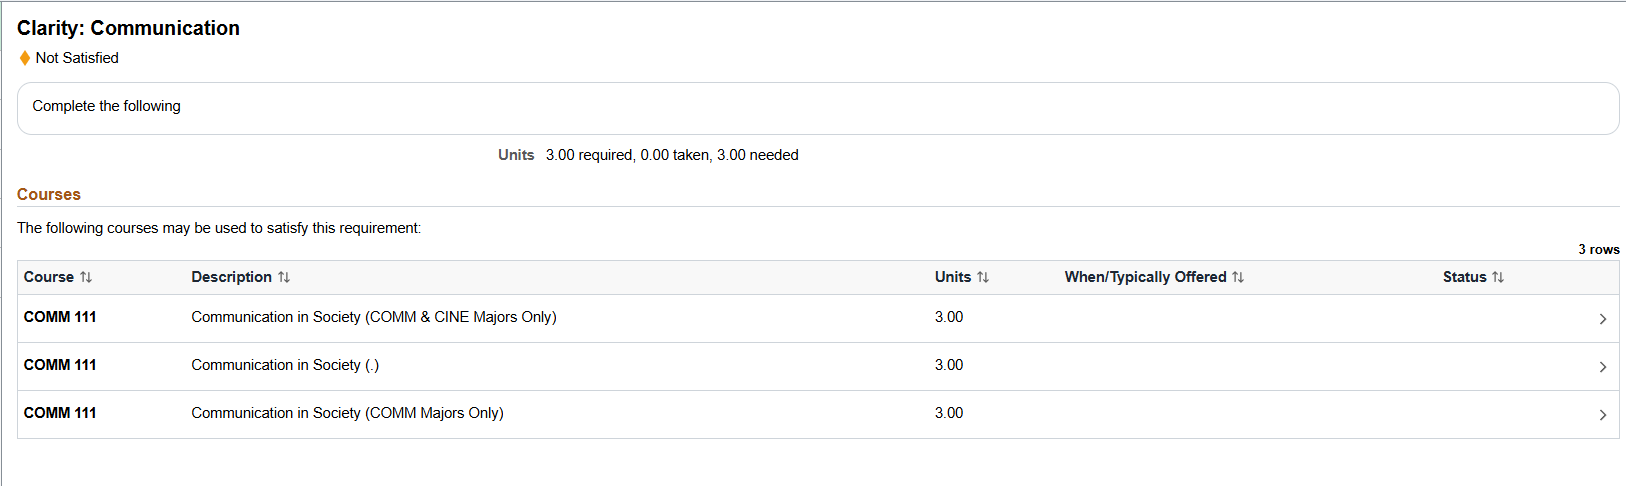
 5. Click on a course in the list needed to meet the requirement.
6. Click Add to Planner button.
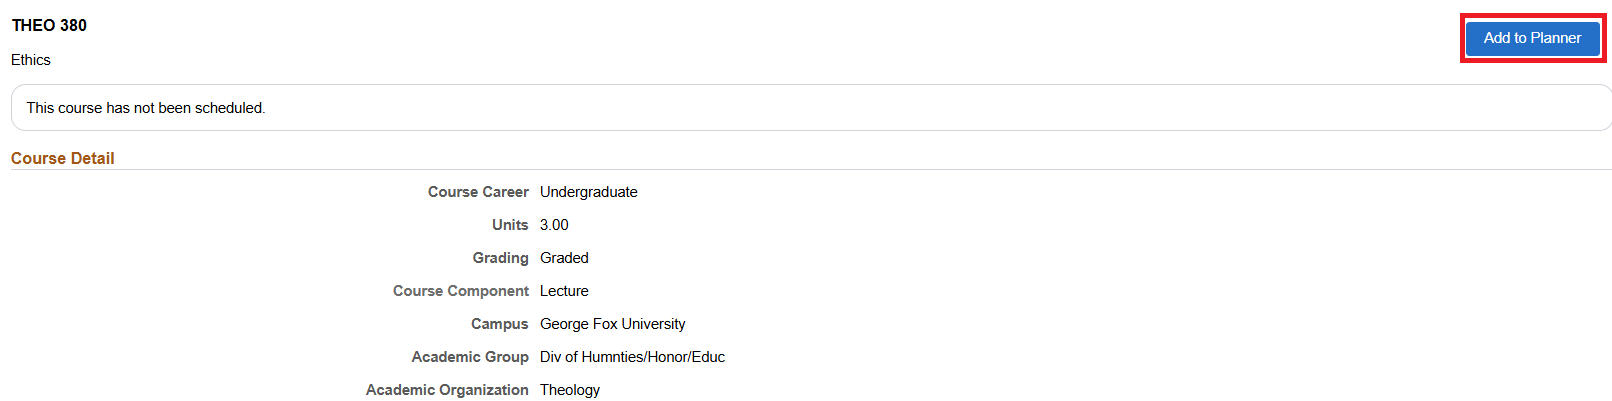
7. Click the back arrow to go back to the requirement to continue adding courses.
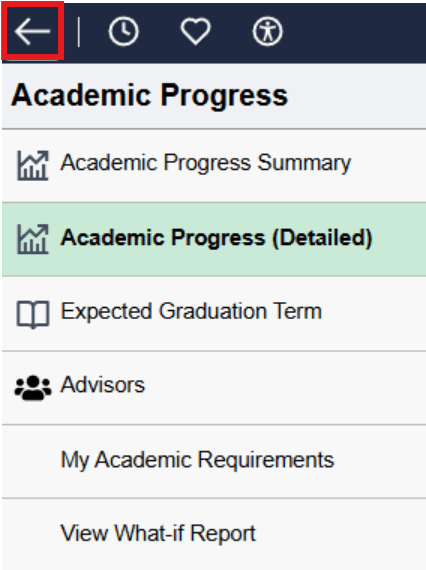
8. When you’re done adding courses, on the last course, click go to Planner. Or go to the Manage Classes tile and click Planner.
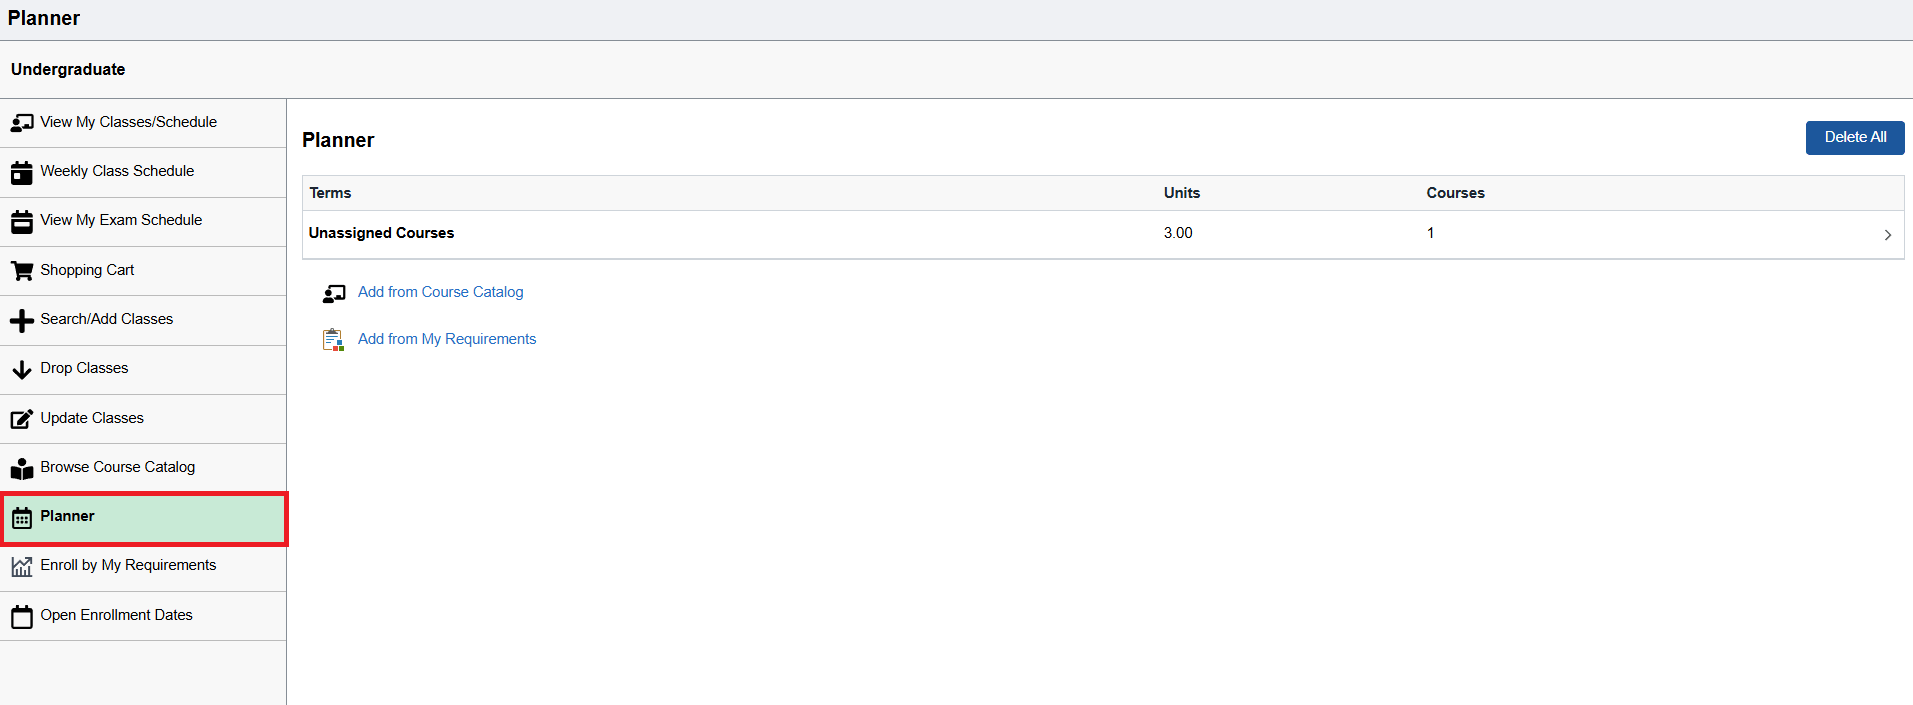
9. You will see all the courses you added under Unassigned Courses when you click the arrow to the right of that row.

10. To move a class to a term, click the arrow at the right of the course.

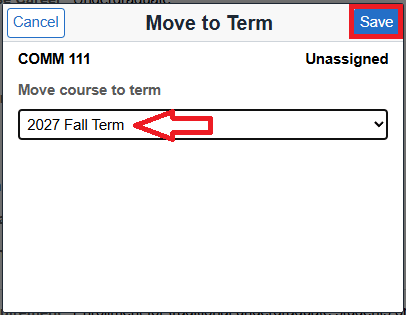
11. Click the Move to Term button.
12. Choose the term. Click save
13. Click on Add from My Requirements again to see courses added to your planner.

Note: Planned courses do not automatically drop off your planner once you take them. You will need to remove the course from your planner once the course has been taken. You can delete all courses in a term with a click of the Delete All button.